Collections
For bill collections this section gives an explanation of the collections screen and how to take a collection for a bill payment.
Note: There may also been a few extra screens asking for confirmations or giving different options, these are seen due to specified settings. Some screens may not be shown due to the same reason.
High level process flows for payment collections include:
1. Searching bill
2. List of matching bills
3. Bill details screen
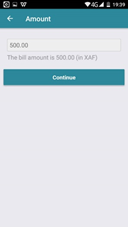
4. Bill amount customisation screen
5. Transaction details screen
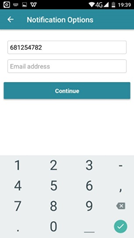
6. Notification screen
7. success or failure
1. When the user logs into the application, the default screen is the collections screen. If you are not in the Collections screen, use the navigation menu to go to this screen. See Navigation for me details.
2. To collect a payment for a bill, please select the bill from the screen above, if you cannot see the bill you wish to take a payment for, it may be in the "All Services" section, to navigate to this press on "All Services" as seen 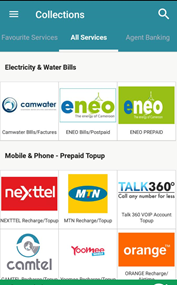
If you still cannot see the bill you wish to take a payment for, use the search with the following steps:
a. Click on the search icon in the top right hand corner of the screen 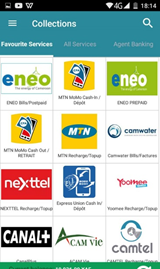
b. This will bring up the search bar and the keyboard; enter the value you wish to search. This will filter the bills and show the relevant results
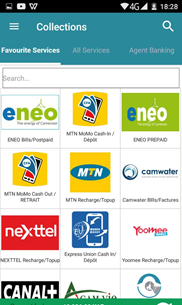
3. Once you have the bill, the next screen shown is the "Search for bills". Enter the contract number to access the bills and press search
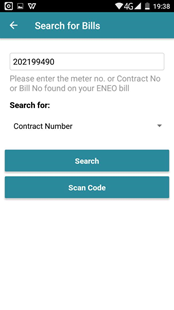
4. The next screen shown is the "Select Bill". Select the bill you with to collect the payment for
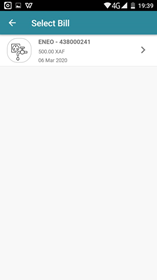
5. This will bring up the "Bill Details" screen showing the details of the bill you have just selected, to continue press "pay"
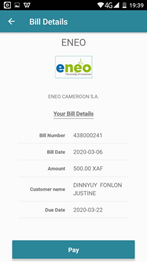
6. This will show the transaction details allowing the user to check the details. Press "Continue"
7. The next screen shown is the "Notification options" allowing the user to enter their phone number and email address to gain notifications about this payment
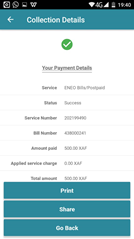
8. The payment has now been made, the next screen shows the overview of the collection details, to print this, press "print", to go back to the collection screen, press "back"
See our Troubleshooting section for more details on how to start a company session and assign drawers to agents